A Home Made Petzval Lens

So we have some glass and aluminium. Let's make a lens!
Lenses have always fascinated me. Those precision ground and polished pieces of glass and the crisp images the make. Even more when I started to work with camera and optics repairs and found out how extremely complex they are.
I'm certainly not a lens making expert. This is my first attempt besides that telescope mirror I made some fifty years ago. So please don't expect a tutorial or expert advice. And one more thing. I don't make lenses on demand. I will probably not make another one. It was just fun to see if it was possible.
The video is not a complete story of all tasks involved but rather a overview or summary of what you have to do to make a lens. I knew from start that I could not make a lens that can compete with the high quality lenses you buy for SLR cameras. Even the simplest prime lenses usually have seven lens elements or more and zoom lenses may have 10-20 lenses. So what should I go for? I decided to make a Petzval lens. It is a classical design having four lens elements and comes with the famous Petzval effect. That’s a swirly bokeh in the background that looks quite cool.
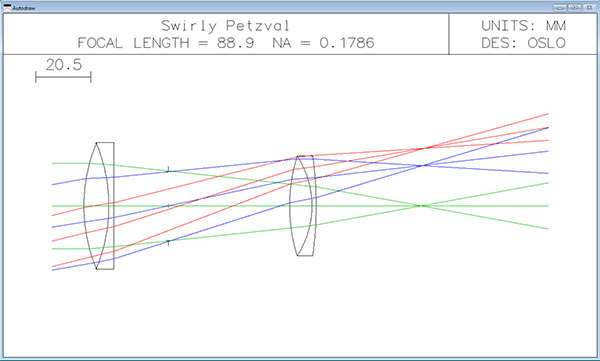
To start with I found a lens recipe that used two types of glass that I could get hold of. Optical glass comes in hundreds of varieties having different properties. It is of course possible to buy glass from an optical glass supplier but it would be very costly to just buy a few small pieces on special order. I found a source called Surplus Shed on the Internet. They have a lot of surplus lens blanks (raw material) at a reasonable price.
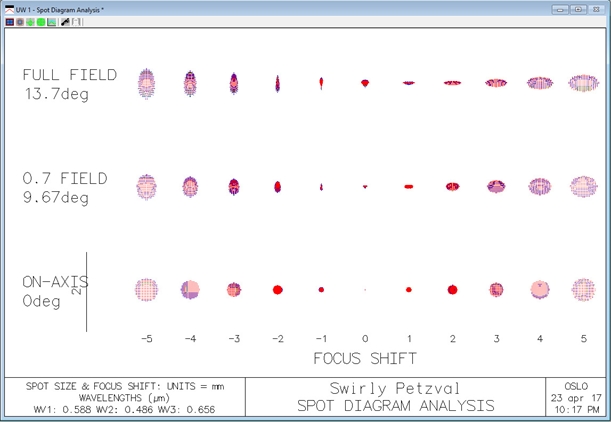
The original design was tweaked to enhance the swirl effect. It was also scaled to the focal length I was after. The spot diagram shows that the out of focus spots will have an elliptical shape behind the focal plane. That's what makes the swirl effect.
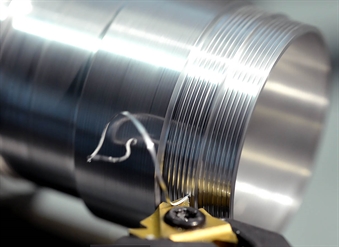
The lens blanks did not have the right size and shape for this design. I had to cut out pieces using diamond tools. You can find low quality cutters from China for a few dollars.

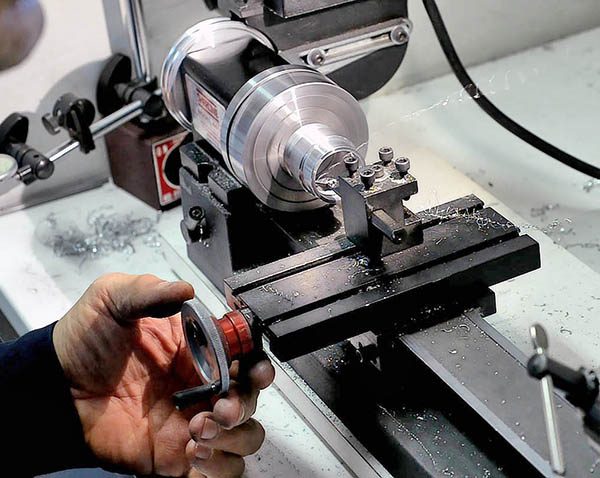
This is my Sherline mill. It is an affordable machine for metal works. Water cooling is necessary when cutting glass with diamond tools. The gray plastic tank is connected to a pump and a water reservoir.
This setup was used to cut out lens blanks and to generate the curves prior to grinding and polishing.
This setup was used to cut out lens blanks and to generate the curves prior to grinding and polishing.
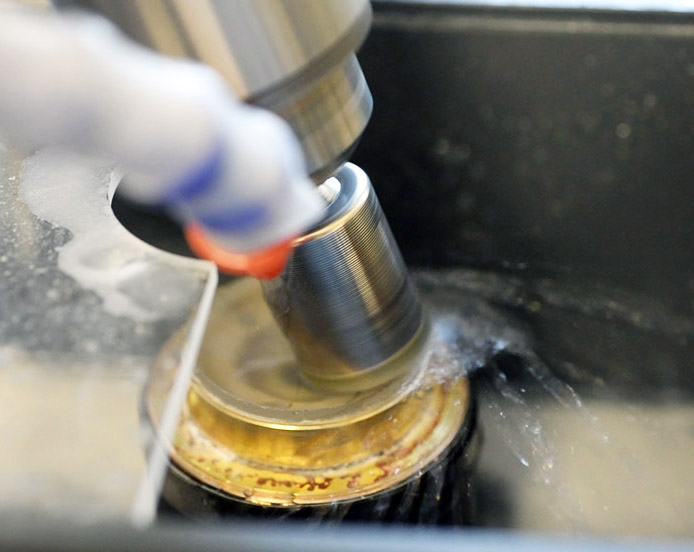
The tool is tilted while the glass is rotated. This setup generates a convex or concave surface. The angle needs to be adjusted precisely to make the right radius.
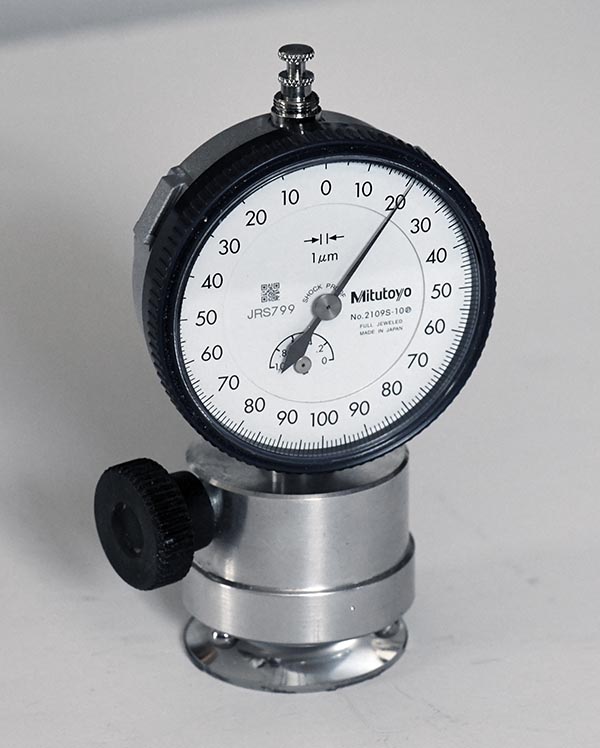
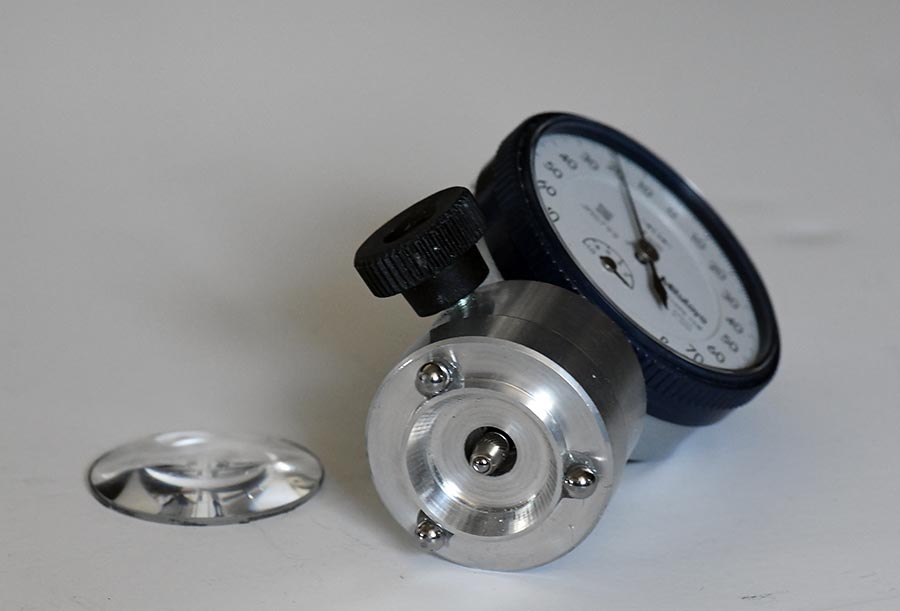
A spherometer is used to measure the "sag" of the lens surface. The radius can then be calculated from the sag.
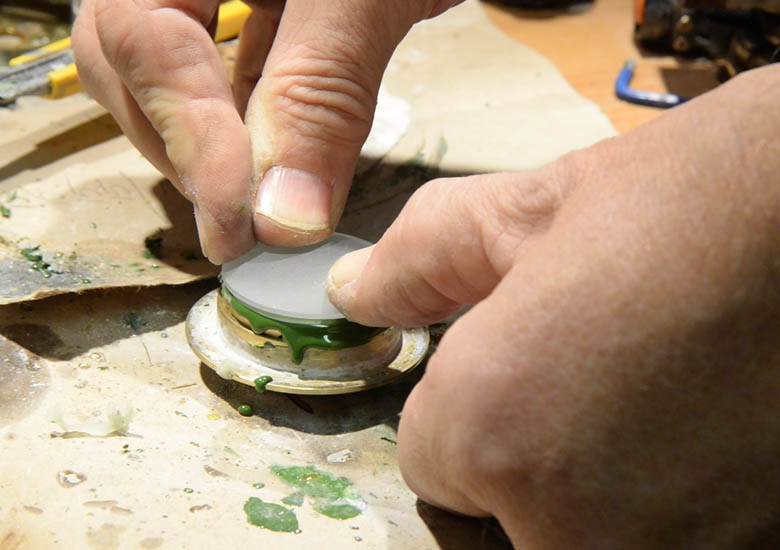
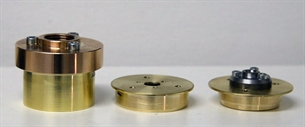
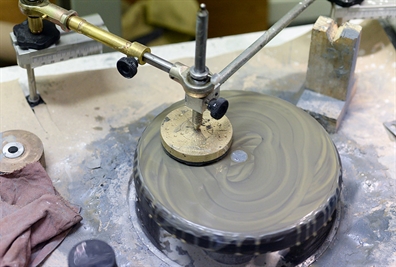
When the lens blank is milled to the right size and shape it is time for grinding. The blank is glued to a holder using pitch (the green stuff). Several lens holders were made to fit the various sizes and shapes of the lens elements.
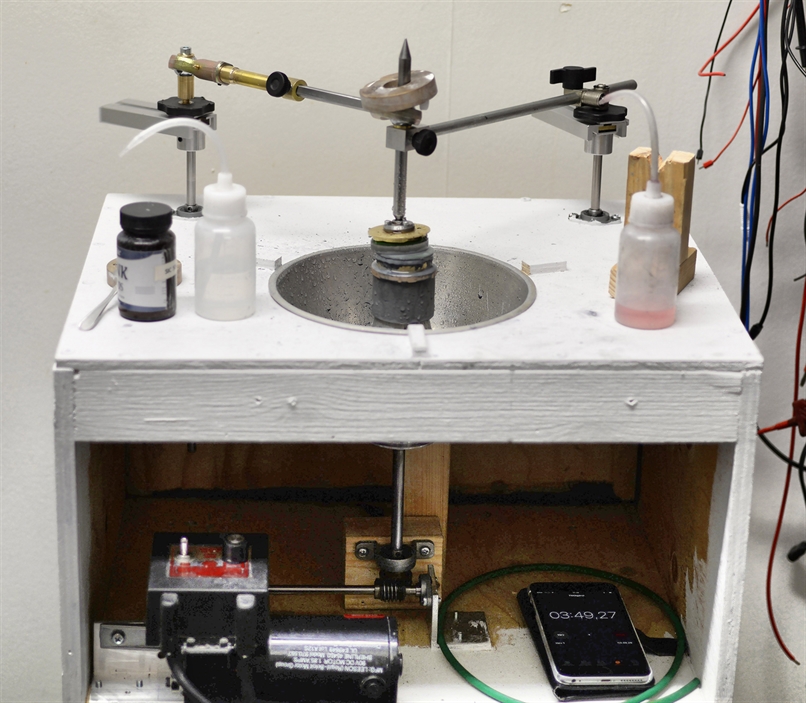
My home built lens grinder/polisher in action. I'm using the motor and speed control from my Sherline mill. The lens is ground against a tool. The tool is also a piece of glass. A concave lens surface is ground against a convex tool and vice versa. Silicon carbide dispensed in water is used as abrasive. Grinding starts with a coarse abrasive and finer and finer grades (grit size) is the used until the surface is silk smooth. When the lens blank and the tool are in perfect contact you have a spherical surface. The sag and thickness of the lens need to be monitored during grinding. The stroke length and position affects the sag.

One lens surface is flat. It is ground on a tool made of cast iron. I made the tool from a lamp foot that I milled flat.
The iron tool is covered with pitch to make a polishing lap
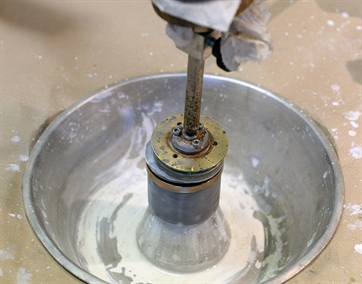
When the grinding is done polishing comes next. A ground surface will never be clear and glossy. Polishing differs from grinding in that the tool is replaced by a lap. The lap is made from pitch (usually a resin). The pitch is melted on to the tool we used for grinding. The lens is pressed against the lap before the pitch hardens. Channels are the cut through the pitch. A polishing compound (I use cerium oxide) is poured on the lap and the machine is started. The polishing takes an hour or two.
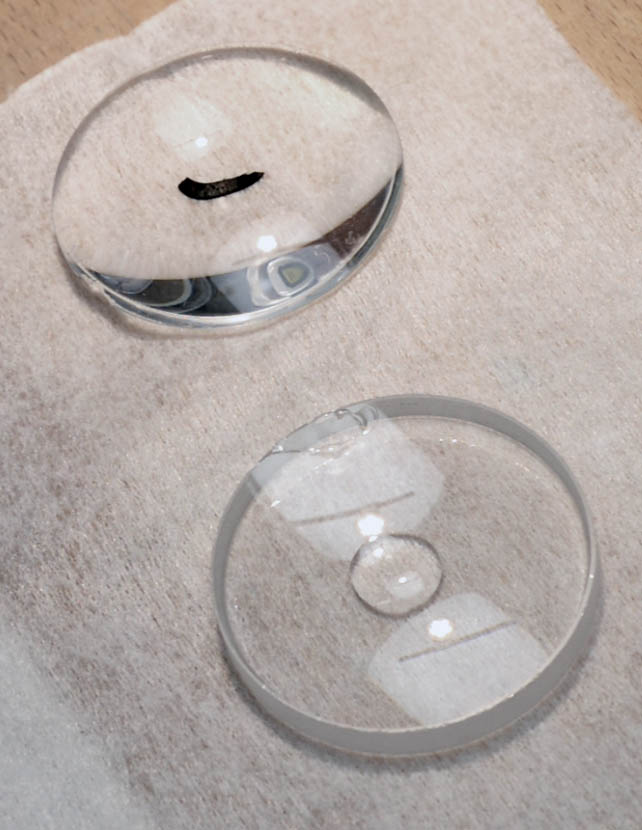
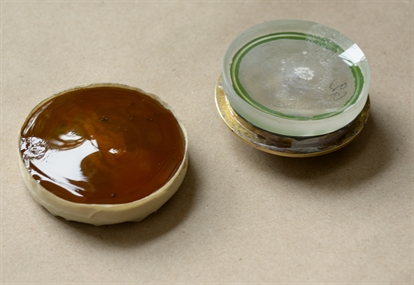
One lens is finished. Just three more to go.
The lenses are cemented (glued together) two by two. Special optical cement is used. It is cured using UV radiation.

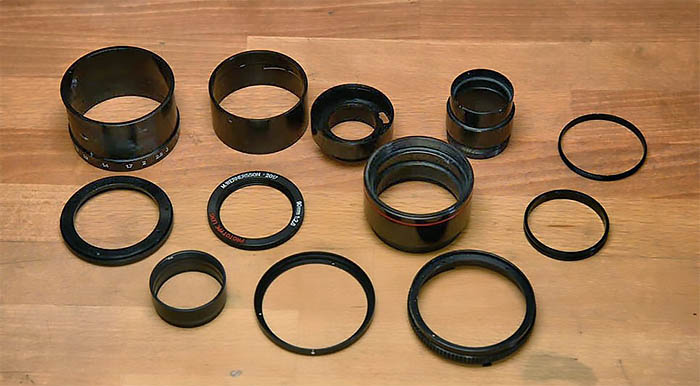
A lot of mechanical parts had to be made. It was all done using the Sherline mill and lathe. Aluminium parts were anodized black using a kit from Gateros Plating Ltd.
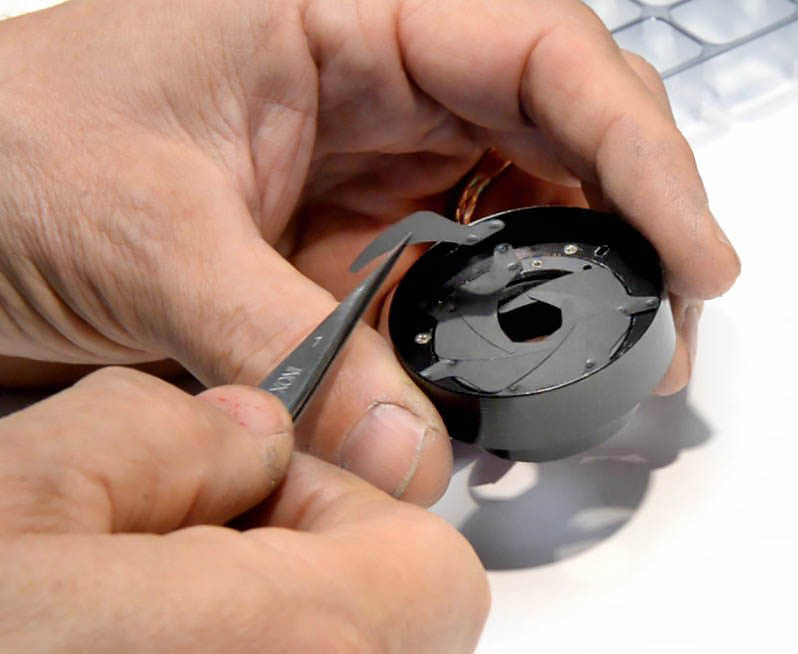
The diaphragm blades come from a lens i my junk bin. But the diaphragm housing and some other parts had to be made.
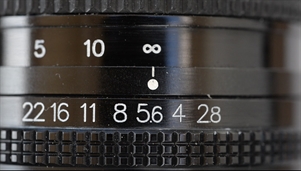
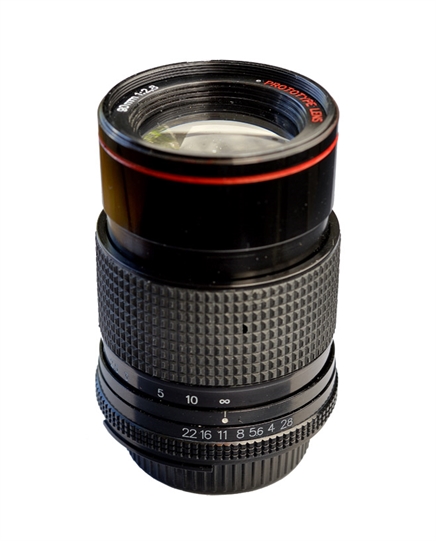
The focusing helicoid is also from the junk bin. I found a suitable on from an old Topcor 135 mm lens.
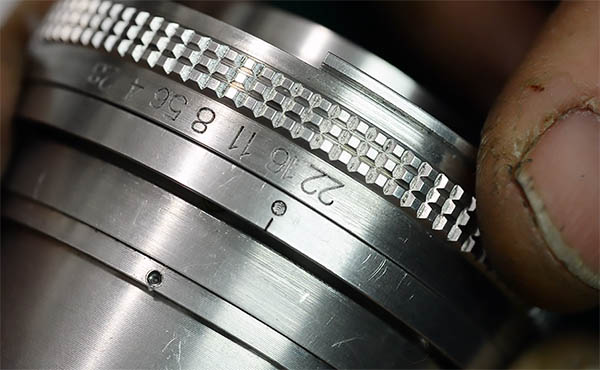
The lens mount is also from a junk lens. Besides those part everything else is made in my shop. All scales were engraved on the Sherline mill.
The focusing helicoid is also from the junk bin. I found a suitable on from an old Topcor 135 mm lens.
The lens mount is also from a junk lens. Besides those part everything else is made in my shop. All scales were engraved on the Sherline mill.
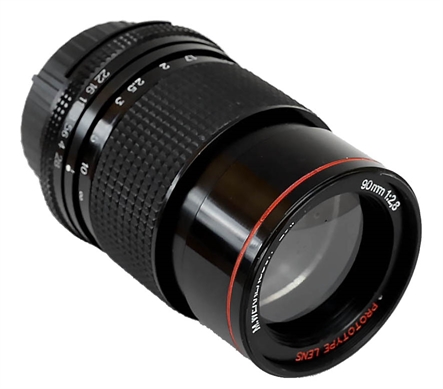

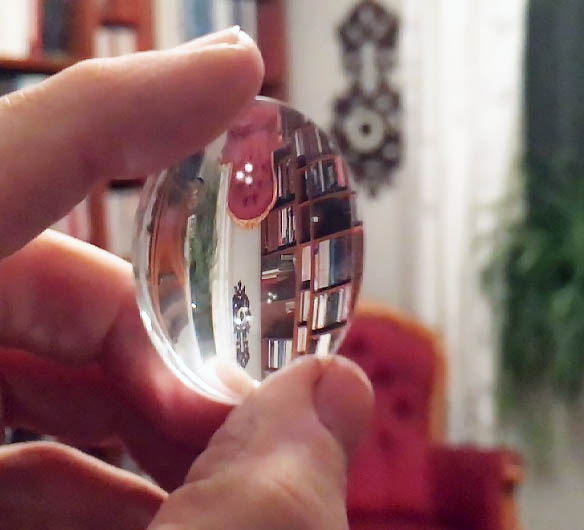
Swirly bokeh at f/2.8
Copyright © Mats Wernersson